Mar 29, 2011

Texture Tuesdays

{{before}}
Softened edges, applied texture (Kim Klassen's "warmsun")
with soft light blend mode, adjusted hues, removed some blending from sled and face.

Texture provided through Kim Klassen's free "texture lovin' list."
Join her list by clicking here and signing up on the column on the right.

UPDATED:  I've been looking at the image above and I'm just not totally pleased.  I opened it in Photoshop again and added the original file under it as a layer.  Then I erased the top layer to reveal the center portion of the image again.  Much better.


Mar 27, 2011

SOOC Sunday

It's SOOC Sunday!  Time for a break from all this photoshopping...

This one is PERFECT!

Mar 26, 2011

Skinny Mini - Textures

This plus this
equals....


Friday's "Skinny Mini E-Course" lesson covered textures.  I love texture in a photo and the effects that can be acheived when adding textures, but I think I'm a bit of texture-shy right now.  I settled with a very subtle example of texture here using a shot of snow from our backyard.  Don't you just love those lashes on my son?  Wish I could say he got them from me!

Yesterday, I took the kids outside and snapped photos of all the textured surfaces in sight.  It was fun to "see" that way.  My son seemed confused as to why I was snapping photos of dirt and not his sweet face!  Below are some of my "texture snaps."


UPDATE - I played more with the grayday vintage texture Kim provided and a poem my Dad wrote...

Mar 24, 2011

I am a beauty, too

Jill Samter of Jill Samter Photography has started the "I am beautiful project."

When I was in grade school, my parents bought an old Buick Skylark from my uncle.  I need to ask him how he could have sold that to us.  My brother and I called it the Flinstone-mobile.  We would have to hang our heads out the windows down the dirt road as the dust would be kicking up through the holes in the floor.  Then, there were times when the hood would just fly up blocking my mom's view (I remember this happening once on an old one-way bridge.)  It was sky blue with baby blue quilted leather seats you could slide about on.  The windows had cool angles and the dash was shiny white with an old silver radio.  Despite the fact that it was a death trap (not even sure if it had seatbelts, but we didn't wear any back then!),  I always thought it was beautiful.  And, apparently Buick did, too.  On the passenger side visor, there was a mirror engraved with an ad slogan, "Buick is a beauty, too."

I used to stare at myself and those words and ponder on it for long rides.  "...a beauty, too?"  What did it mean? Mom explained that I was looking at myself and I was beautiful, too.  I'm sure I blushed.

For my "I am beautiful" entry, I submit the following...


Now I have to clean the mirror....maybe I'll wait a while!
Let's see your picture in the flickr group - because you are beautiful, too!!

Picture Me...Week 1 of 52


Since I'm the mommy, I'm usually the one behind the camera, so I'm joining this challenge (link on image above) to capture ME at this point in time!  

The strangest thing happened last night - the kids slept beautifully - not completely without wakings, but I had more sleep than I can remember.  I got up with my daughter and kept checking on my son, who it turns out slept in (making for a total of 12+ hours - unheard of!)  I managed to get my own quiet breakfast and drink HOT coffee!  

I used the self-timer...which of course caught me like this!
And then, out of focus.  If I 'm going to keep up with this challenge, I'd better have others take my picture.
Third time's a charm!
And, finally (while still out of focus) this is me just being grateful for a restful evening.  Still needed my coffee, of course!

Good to Wow - Edit - Flowers!


For the orchid, I applied some adjustment levels, cropped and painted out the stem on left.
Still playing with"clean edit" process (I'll have to go back to the old lessons.)

For this next image, I wanted so badly to use the Pixel Bender's Oil Painting filter that Ashley references. I did download the "stand alone" toolkit and had some fun with it, but didn't see that filter available.  So, I hit google and in trying to find a way to apply that filter, I found a tutorial on the "liquify" filter in Photoshop.
(Filter, Distort, Liquify)


I'm not entirely pleased with this result, but I was just playing with it and was happy to find that it may take a little more time and effort, but I could mimic the Pixel Bender oil painting.

Updated:  Since I've put kids to bed, I played again with the Nice & Easy Action (it wasn't loading for me earlier, but I got it...and love it!)  This shot still fits the "flowers" theme - just check out her fleece shirt!

I also "cloned" away some boo-boos, and used the lasso tool to highlight then lighten teeth and eyes.


See more Good to Wow shots at:


Mar 23, 2011

Skinny Mini - Adjustment Layers

Kim at Kim Klassen Cafe is offering a FREE Photoshop "mini e-course."  I started on Monday.  

Today's lesson went deeper into the layers panel and adjusting levels.  Here's my practice before & after. 


I'd like to go back and increase the white in this edit.  With 2 young kids, I'm playing here either at midnight or rushing through naptime.  Just getting a feel for all the tools and having some fun.

Again, I picked up a ton of helpful keyboard tricks from the course.  My favorite - the "scrubber" function (hover on the text next to a slider, hold mouse and adjust slide.)

And, finally I have a better understanding of the histogram.
Pistachios SOOC
Pistachios edited

As I was editing this photo, I was eating milk-chocolate chips from the bag by the handful...while these beautiful pistachios sit in the kitchen!  Hence the reminder to "choose health!"

Mar 21, 2011

Good to Wow - SOOC - Flowers!


I'm going to jump in on this weekly challenge.  For this week, they ask for SOOC (straight out of camera) shots of flowers!  Yes, Spring has officially sprung!  I don't have flowers to photograph yet, luckily I keep a lot of "flower shots"  saved for just such occasions.  I'll decide later which one of these I'll edit later in the week for the second part of the challenge.


See my edited versions here.

Skinny Mini - Back to School


Kim at Kim Klassen Cafe is offering a FREE Photoshop "mini e-course." Sign up here.
First lesson was posted today, but she's keeping each lesson up on the page and sign-up is still available.

I just started lesson one. Her e-course is so student-friendly - complete with video lessons and pictures and fonts to download and play with! I have never taken a photoshop course, just learning as I go with PS Elements 7 and gathering some tips here and there on the web. Even though I know very little about all the program offers, at first I thought day one would be too basic for me, but I soaked up some very useful tips regarding setting up preferences and arranging the workspace.

While I could have created these next photos before this course, I did pick up some tips about manipulating the font tools.


The first tutorial covered cropping an image and adding type. She used a picture of a daisy with the word, "strength." In my sample above, I followed her first tutorial "to-a-tee" using an image I had taken a few years ago in my mom-in-law's garden. I like the "vtRemingtonPortable" font (a download link is included in the course.)

I didn't crop this next sample - my brother-in-law's dog that lives with mother-in-law :)

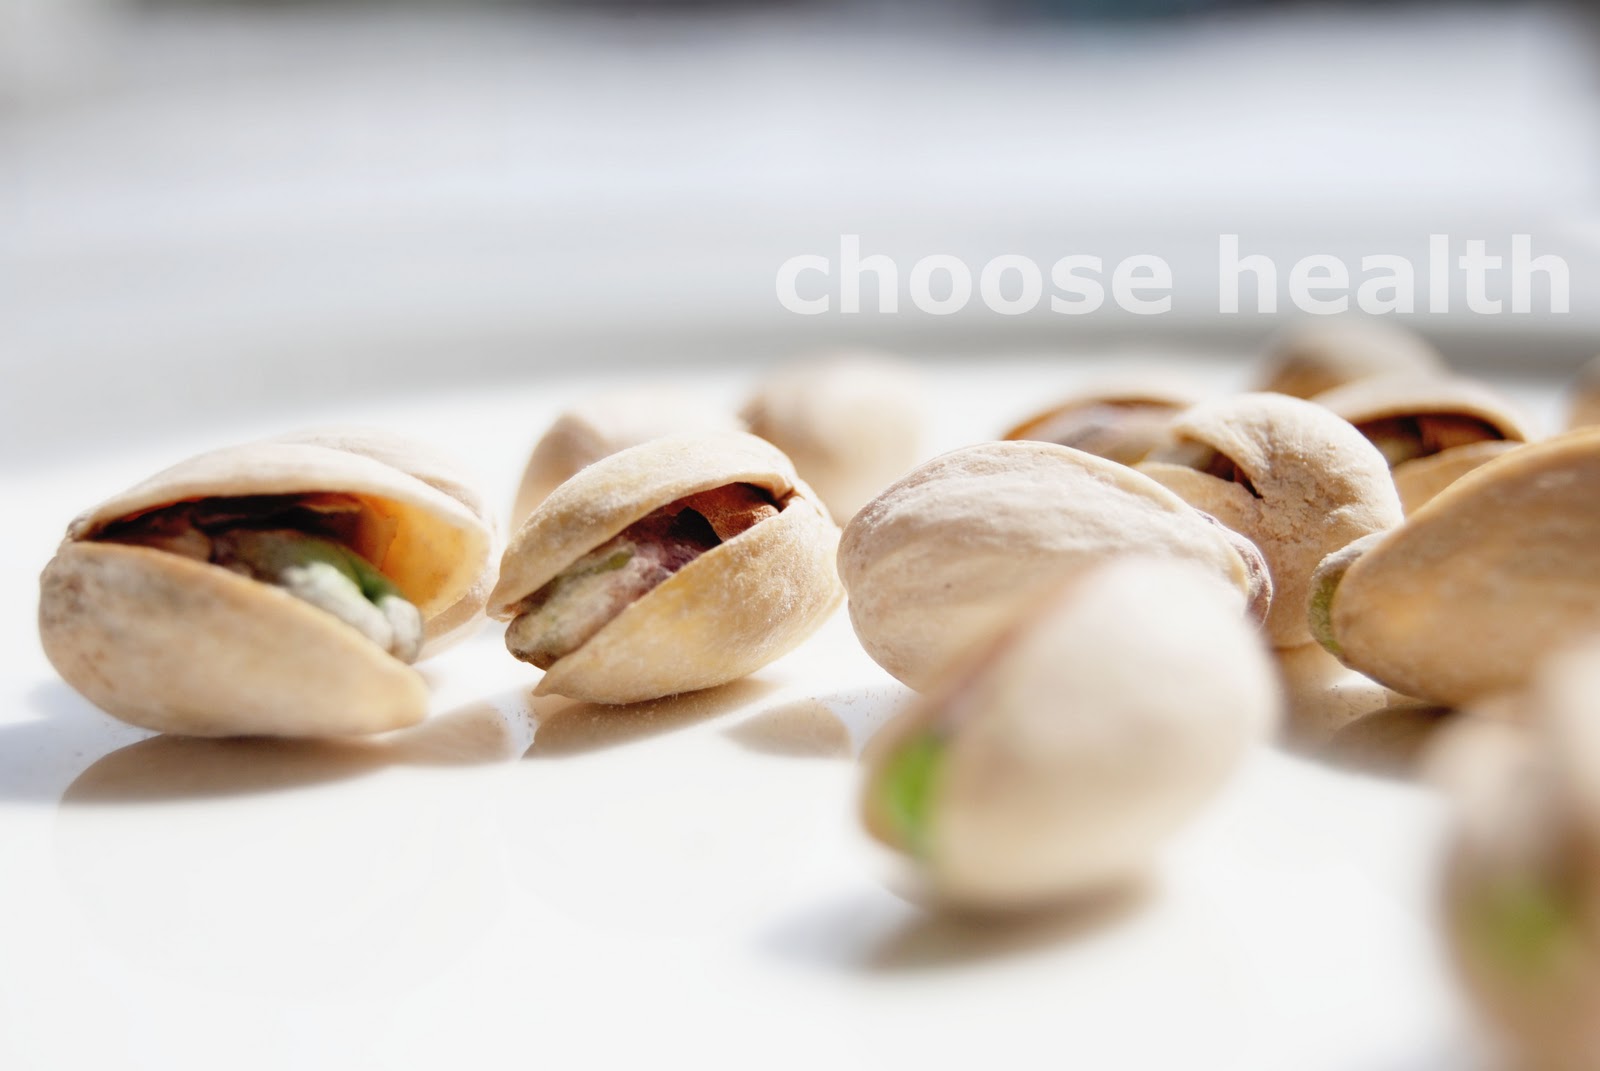
I just flipped the image horizontally and then added type.  (I'm also pretty sure I had cleaned up the SOOC shot when I originally saved it.)  I learned in lesson one that the size of the font will vary with the resolution. The original photos were 72 ppi, but when cropped they became 460.8 ppi.  In the photo below, the font is set at 500 pt where as the text in the cropped photo above is 30 pt.
Here are the SOOC shot of these two edits:

There is a flickr group set up for participants to share their work.  I'm so looking forward to this!

I will also be joining some other challenges and tracking my efforts here on this blog.

Questions from first set of Homework Worksheets:
1. What is the keyboard shortcut to duplicate a layer in the layers panel?  Ctrl+J
2. What panel should you have open at all times?  layers
3. What is one method you can use to highlight your text?  click on the text layer box
4. What is the keyboard shortcut to revert the foreground and background color to the default black and white? D
5. How do you undo a step in photoshop?  Do you know the keyboard shortcut for undo?  Ctrl+Z
6. What file format should you save your image under in order to maintain all the layers?  psd